Follow the steps below to create a new job using the HR Module of Kronos WFR.
- Navigate to Select Menu
 > Admin
 > Company Settings> HR Setup> Jobs
 - Click Add New in upper right corner and fill out the following information:
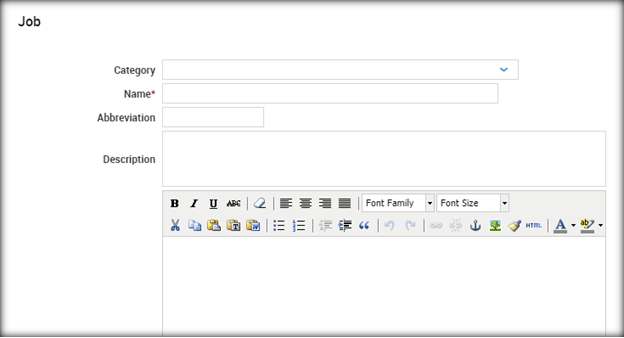
- Category is a fillable field (as you save categories they become part of the dropdown). Add the name of the job (abbreviation and description are optional).
- Job Description is what will show in your Recruitment portal for this job when you post the position (this is an additional feature that you may or may not have turned on).
- There is additional information that can all be tracked on the job: standard work day, employee type, EEO classification, union, pay grade, pay type, work comp codes, etc.
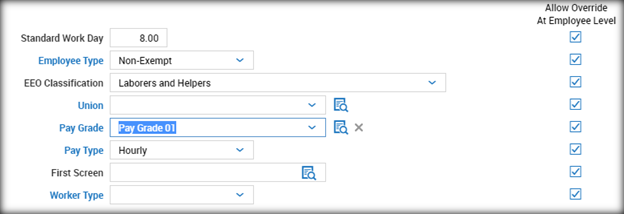 NOTE: It is suggested that you Allow Override At Employee Level on all options. The system will default the employees assigned to this job to those but you are able to override them if necessary. If those boxes are not checked, there is not option at the employee level to change them.
 - You are also able to assign default profile to the jobs. The Allow Override At Employee Level will function the same way as above for these defaulted profiles.
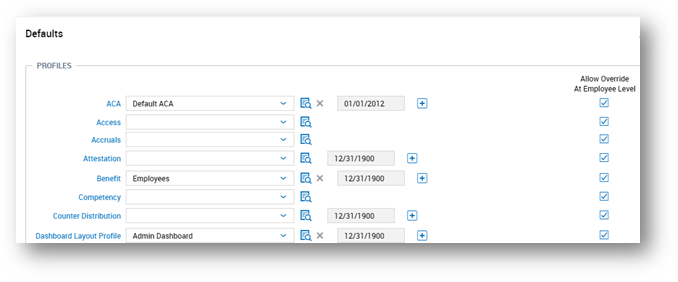
- Once all desired information is added click Save.
Assigning Jobs to Employees:
- Navigate to Select Menu
 >Team
>Team  > My Team> Employee Information
 - Select the appropriate employee by clicking
 .
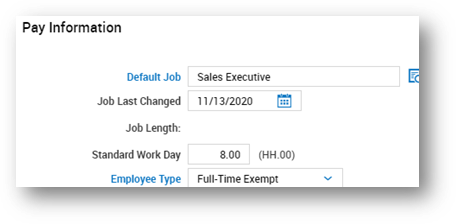
. - On the Main tab find the “Pay Information” widget:

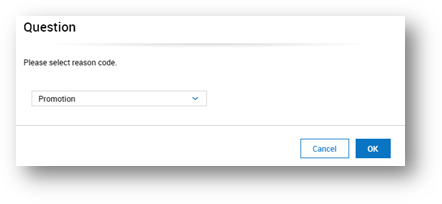
- When you click on the search icon to select the job for the employee, a popup will show that will first ask you what the reason for the job change is. Should you not see the option that is fitting, please reach out to RABco to have the additional option added.
- Assign the correct Default Job. NOTE: changing the default job will cause the standard work day, employee type, EEO Classification, Union, Pay Grade and Pay Type to default to the settings on the Job (if no defaults are entered it will clear out the settings on the employee and they will need to be re-entered.
- Click on

